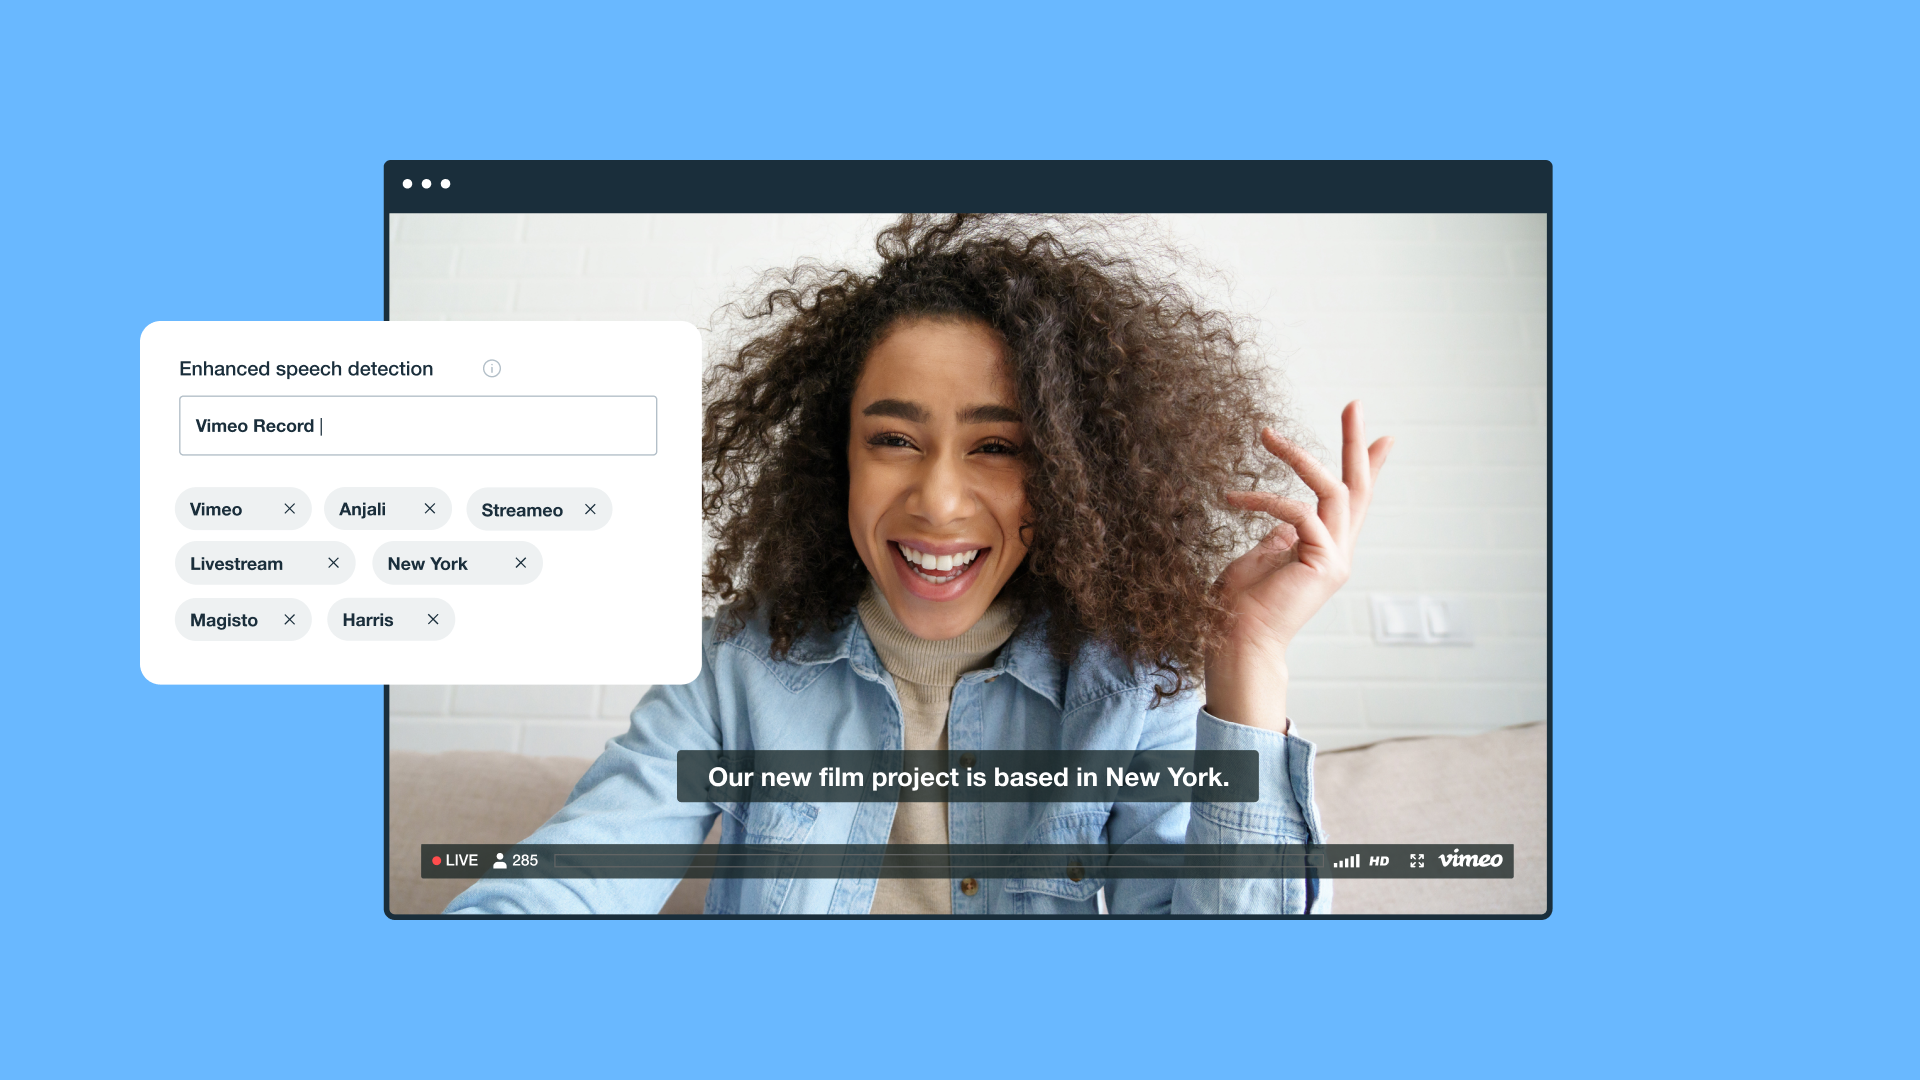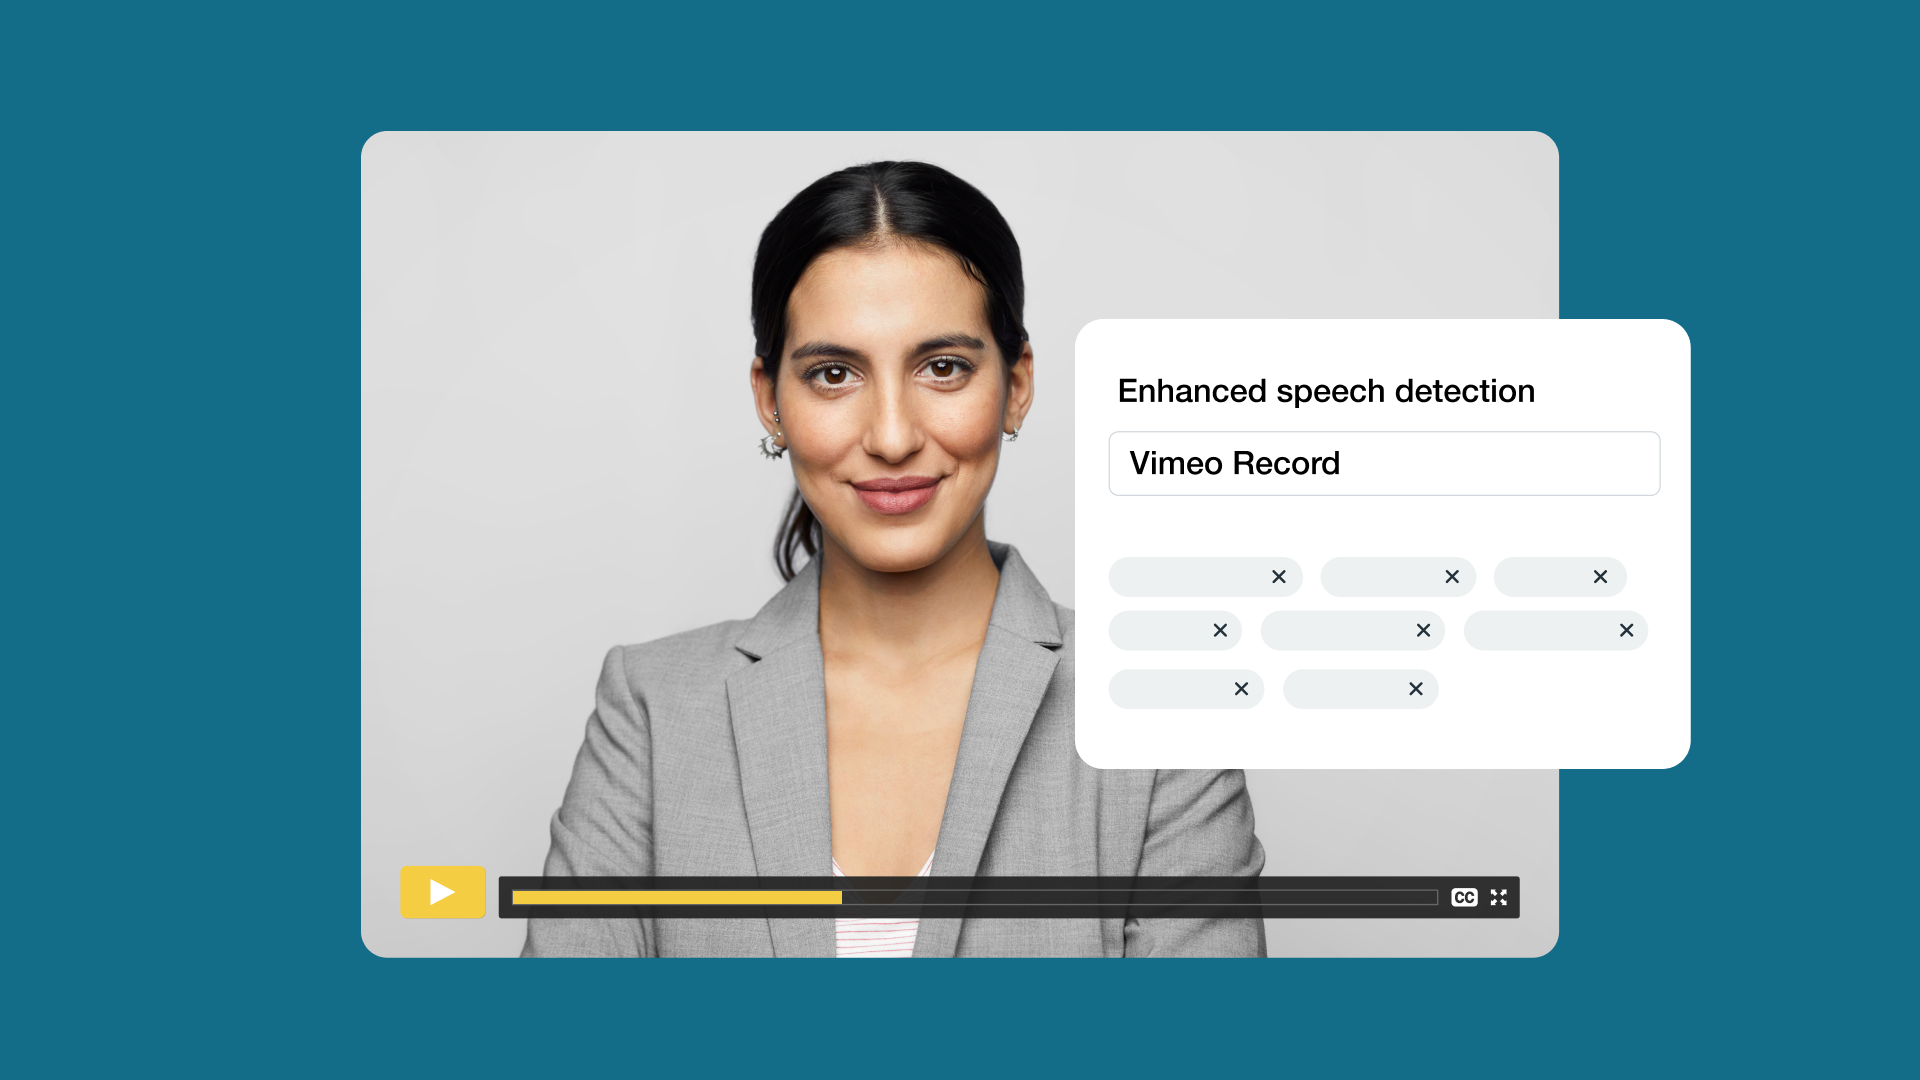
Creating great video content is only the beginning — ensuring it resonates with your target audience is the real challenge. Whether you’re crafting a product demo, recording a conference, or showcasing a behind-the-scenes feature, closed captions (and/or video subtitles) are necessary tools for boosting accessibility, viewer engagement, and overall impact.
In this guide, we’ll explain why subtitles matter, how to add subtitles to a video, and how platforms like Vimeo simplify the process with tools like automatic captioning.
- What’s the difference between captions and subtitles?
- Why you should add subtitles to videos: 3 key benefits
- How can I add subtitles to a video? A step-by-step guide
- 4 effective platforms for adding CC to videos
- Frequently asked questions about adding video subtitles
- Make your videos more accessible with Vimeo’s automatic captions
What’s the difference between captions and subtitles?
Though sometimes used interchangeably, captions and subtitles serve different purposes:
- Captions assume the viewer can’t hear the audio. They include spoken words as well as nonverbal elements like “[applause]” or “[music playing]”.
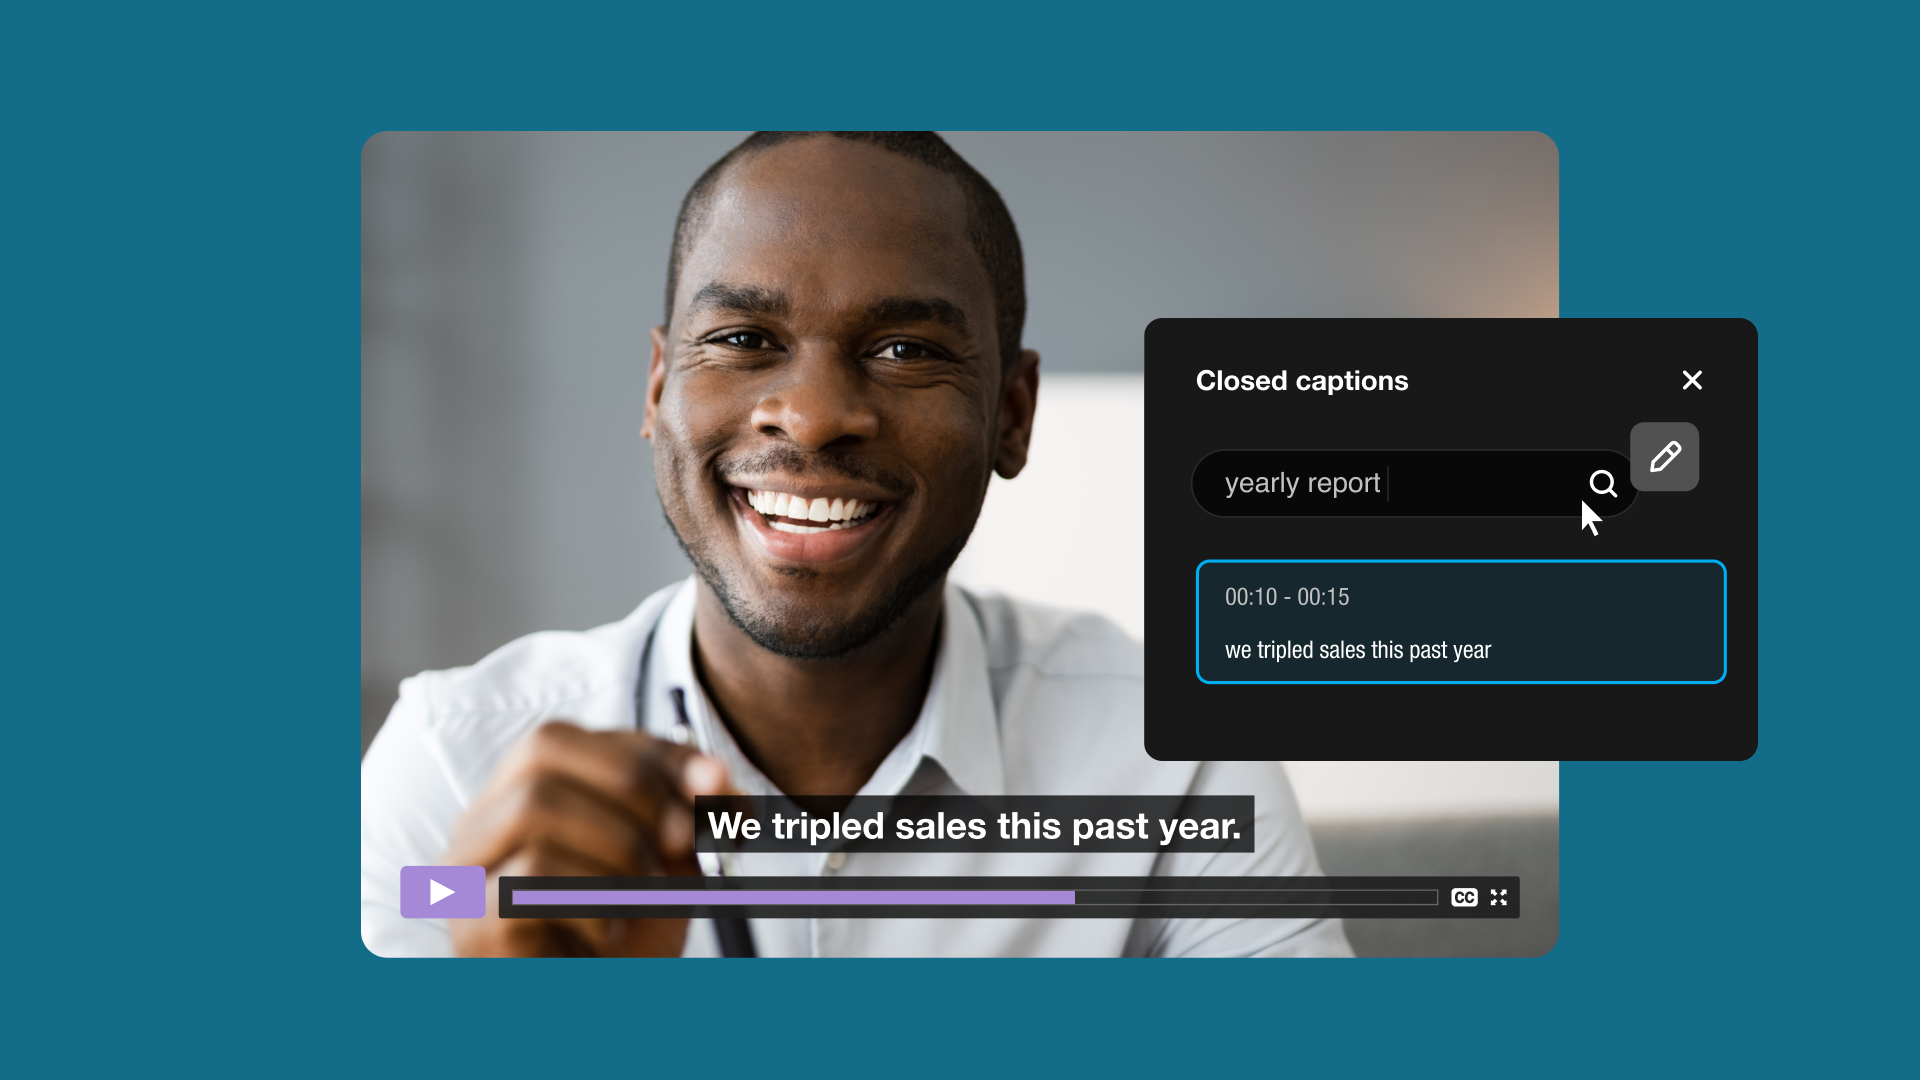
- Closed captions are a specific type of caption that the viewer can turn on or off using a remote control, menu option, or software setting. They are often indicated by a "CC" icon.
- Open captions (also sometimes called "burned-in" or "hardcoded" captions) are captions that are permanently embedded in a video and can’t be turned off by the viewer.
- Subtitles assume the viewer can hear but needs a translation or transcription of the spoken language.
For a deeper look at captioning in real time, check out Vimeo’s guide to live captioning and how it works.
Auto caption your video →
Why you should add subtitles to videos: 3 key benefits
From increasing accessibility to maximizing your reach, creating subtitles for videos can transform how your audience engages with your content. Here are three key benefits.
1. Increased accessibility
Video content should be inclusive by design. Subtitles and closed captions guarantee that people who are deaf or hard of hearing can still engage with your message without missing a beat. They also help non-native speakers, viewers with learning disabilities, or anyone in a noisy (or silent) environment.
Beyond inclusivity, there’s a practical reason to prioritize video accessibility. Many organizations are legally required to comply with accessibility standards such as Web Content Accessibility Guidelines (WCAG) or the Americans with Disabilities Act (ADA). Adding subtitles into videos helps you meet these standards.
2. Higher engagement for silent viewers
Say a user is scrolling through their feed at a coffee shop, during a train commute, or at work. Their phone’s on mute, but your video catches their eye. Subtitles let them follow along without turning the volume up, increasing the chance they’ll watch the whole thing (and maybe even hit that share button).
Captions allow for longer watch times, improved comprehension, and better message retention. They’re especially powerful on platforms like Instagram, TikTok, and Facebook, where auto-play videos are often muted by default. Including subtitles ensures your story lands, even in silence.
3. Better discoverability
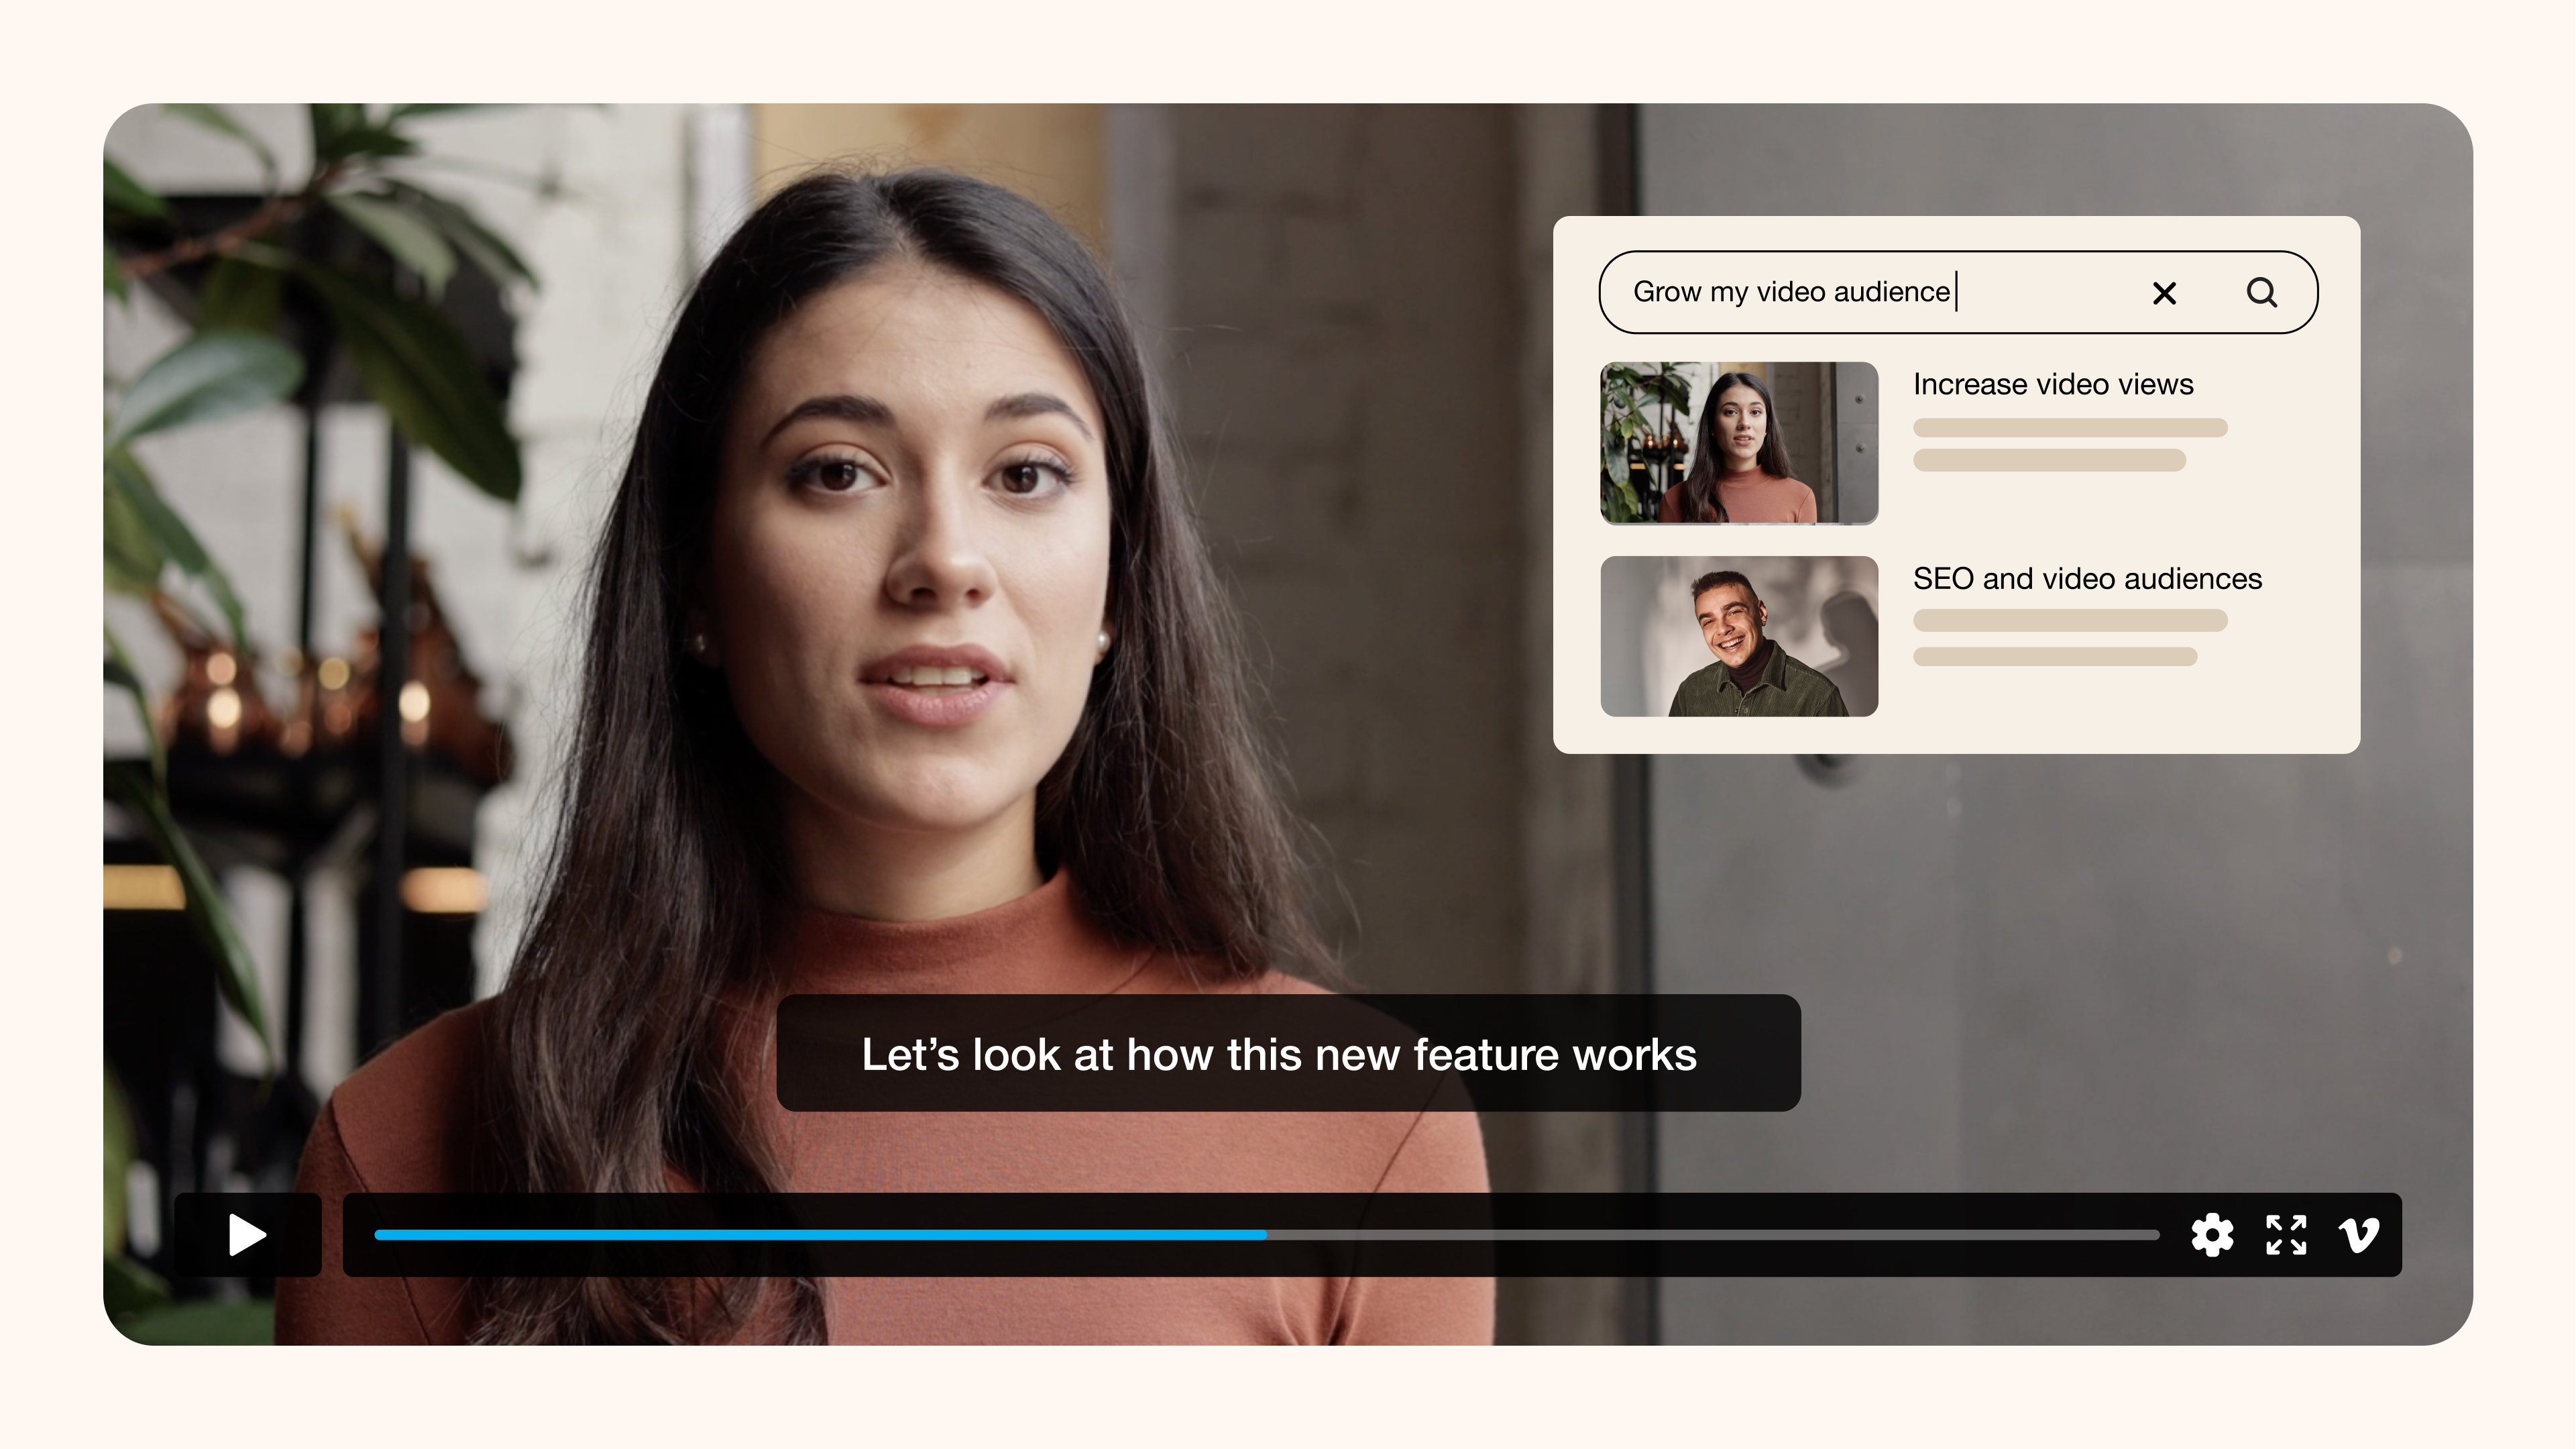
Subtitles do more than help people — they also help search engines. When you add a caption to a video or upload a transcription of your video file, you provide text that search engines can crawl and index.
Your video content now has metadata that includes your keywords, topics, and brand language, improving discoverability across all platforms. For businesses, that means higher visibility and more qualified traffic from each video asset. Subtitles aren’t just about accessibility — they’re a smart, strategic move.
Add subtitles to your video →
How can I add subtitles to a video? A step-by-step guide
When it comes to creating subtitles for a video, the process is more approachable than you might think. Here’s how to get started.
Step 1: Transcribe your video
Start by turning your video’s dialogue into text. You can do this manually by listening and typing it out or using transcription tools to speed things up. Some platforms like Vimeo offer automatic transcript generation, which saves you time while maintaining accuracy. Vimeo also lets you compress video files to make storing them easier.
Be sure to include speaker names and any important nonverbal sounds (like “[music playing]” or “[laughter]”) to improve context for viewers. If you're recording your own videos and want to speak clearly for transcription later, try using a teleprompter tool to follow your script smoothly on screen.
Step 2: Sync the subtitles with your video file
Once you have the transcription, it’s time to align each line of text with the exact moment it’s spoken in the video. This is where subtitle timing (aka time-coding) comes in. You can do this manually with subtitle-editing software or use a built-in editor that handles the sync process for you.
Step 3: Export or upload the subtitle file
After syncing, export your captions as a subtitle file (usually .SRT, .VTT, or .SBV formats). You can upload these files directly to most video platforms, including Vimeo, YouTube, and Google Drive.
If you’re editing the video in post-production, you can burn the subtitles directly into the video file so they appear automatically during playback. This method is known as using open captions, which are always visible and can’t be turned off.
Step 4: Review and refine for accuracy
Auto captioning is a huge time-saver, but it’s not perfect, especially with complex names, technical terms, or multiple speakers. Review your subtitles for accuracy, grammar, punctuation, and flow before publishing. Vimeo also gives you the option to order professional captions and subtitles directly from your video settings.
A clean, well-formatted subtitle track reflects your brand’s professionalism and makes your message crystal clear.
Upload a video and add subtitles →
4 effective platforms for adding CC to videos
There are several ways to add closed captions depending on where and how you publish your content. From built-in tools to manual uploads, each platform offers its own approach. Here are four useful options that get the job done, whether you’re on your Windows PC, Mac, or mobile device.
1. Vimeo
Platforms like Vimeo, and similar tools like Veed and CapCut, offer built-in auto-captioning tools that make it simple and fast to create subtitles for videos. Vimeo can automatically generate closed captions when you upload a video using speech recognition technology. From there, you can review, edit, and publish captions with just a few clicks. Vimeo’s integration with Rev also gives users access to high-quality human transcription.
Key features that Vimeo offers include auto-captioning in multiple languages, an easy-to-edit transcription panel, a professional playback experience, and no extra software required.
With Vimeo’s automatic captions, your content becomes more accessible and searchable without adding extra time to your workflow. Vimeo also offers built-in tools to trim and otherwise edit your videos online at the same time as adding your subtitles.
2. YouTube
YouTube also provides free auto-generated captions on uploaded YouTube videos, and supports multiple languages. After your video is processed, you can view and edit captions directly in YouTube Studio.
Keep in mind, YouTube’s auto captions can be inaccurate, and the editing interface can be clunky for long videos (they don’t offer text-based video editing like Vimeo does!). Make sure you review YouTube’s captions to catch errors or misheard words before publishing.
Compare Vimeo and YouTube →
3. Google Drive
You must manually add subtitle files if you’re storing or sharing videos via Google Drive. First, upload your video to Google Drive, then generate an .SRT file. Use a third-party player like VLC or add subtitles during video editing before uploading.
Although Google Drive doesn’t natively support subtitle file integration, it’s a reliable place to host and share subtitled videos.
Learn more about Vimeo’s integration with Google Drive →
4. Instagram and TikTok
Mobile-first platforms like Instagram and TikTok offer in-app tools to add subtitles, usually through auto-captioning. These are great options for adding subtitles to videos on your phone.
Here’s what to do for:
- Instagram Reels: Use the "Captions" sticker to automatically generate subtitles while editing.
- TikTok: Turn on the "Auto Captions" feature under Accessibility during post creation.
While these options are fast and user-friendly for iPhone and Android users, they’re not always accurate. You may want to manually adjust the captions or add them during video editing for branded content.
Discover Vimeo’s integration with TikTok →
Frequently asked questions about adding video subtitles
How accurate are auto-generated captions?
Thanks to advancements in speech recognition and AI, auto-generated captions have come a long way. Platforms like Vimeo and YouTube now offer auto-captioning with impressive accuracy. However, they’re not flawless. Accents, background noise, and technical jargon can still trip them up. That’s why it’s best to review and edit auto-generated captions before publishing.
How do I add captions to videos for free?
For a cost-effective way to include captions in your video, utilize the built-in tools available on your preferred platform (many of which are highlighted in this article). For instance, Vimeo offers both manual and automatically generated captioning options that are easy to use. But if you’d like more powerful tools, like automatic translated captions, you may need to opt for a paid account.
How much does it cost to add closed captioning to a video?
It depends on your method. Here’s a quick breakdown:
- Manual transcription: Free, but time-consuming.
- Auto-captioning (Vimeo, YouTube): Free or included in the platform’s subscription.
- Professional captioning services: $1–5 per minute of video.
- Captioning software: May have a one-time or monthly fee.
Vimeo’s built-in auto-captioning provides a cost-effective solution with the flexibility to edit and enhance captions directly in-platform.
How do I add subtitles to a video on iPhone and Android?
To include subtitles in a video on your iPhone or Android mobile device, you typically need to use a third-party video editing application such as iMovie (for iOS), Vimeo (available on both iOS and Android), or similar compatible apps. These applications provide the option to manually enter subtitles, utilize auto-captioning features, or upload subtitle files like SRT. The usual steps involve importing your video into the app, adding a text layer or selecting the subtitle tool, syncing the text with the audio, and finally exporting the video with the subtitles either embedded or as a separate file.
Make your videos more accessible with Vimeo’s automatic captions
Adding captions or subtitles to your videos is more than just a best practice — it’s a smart, strategic move that improves accessibility, engagement, and discoverability. Whether you're a content creator, marketer, educator, or business leader, adding captions or subtitles can make a difference.
Fortunately, with Vimeo’s automatic captioning tools you can expand your audience in more than one way. Translating subtitles allows your message to reach viewers across the globe. And if you're live streaming, Vimeo supports automatic closed captions for live video. Make your videos more accessible, searchable, and impactful today.


