Retro Gaming with Raspberry Pi: Everything to Start
In the early days of the Raspberry Pi, retro gaming was one of its most popular uses. It helped bring it to a wider audience (not just schools and programming nerds). But it’s a big topic, not necessarily as intuitive as you might think, so you might need some guidance to get started. Well, that’s the purpose of this page.
With the right operating system and emulator, a Raspberry Pi can run classic games under similar conditions to the original version. It requires downloading ROMs and using controllers to get the best experience.
In this article, I’ll try to demystify all of these steps for you, starting with the operating systems I recommend, where to get ROMs and other tips for getting this set up as quickly as possible. If you’ve already started this project, feel free to use the table of contents below to jump to the section you’re interested in.
By the way, if you’re looking for some great retro games, I’ve got a list of my 24 favorites for Retropie, Recalbox, or Lakka. It’s packed with screenshots, descriptions, and download links to make it easy for you. Grab the list for free here!
Start here: choose your operating system
Your first step will be to choose a gaming system and install it before thinking about anything else.
I highly recommend getting a separate SD card and installing an operating system dedicated to retro gaming. While it’s possible to play some games or install Retropie on Raspberry Pi OS, I think it’s best to keep things separate.
I have a full article comparing all the gaming options for your Raspberry Pi, but I’ll give you the short version here so you have a better overview before installing one on your device.
You might also like: Are you sure your Pi is secure? Here are 17 simple tips to protect it.
Retropie
Retropie is the OG of retro gaming on Raspberry Pi, created in the same year as the first Raspberry Pi model release, they have always been around, and so benefit from the largest community. Most people don’t even know it’s not the only option.
The interface is pretty simple, and looks like:
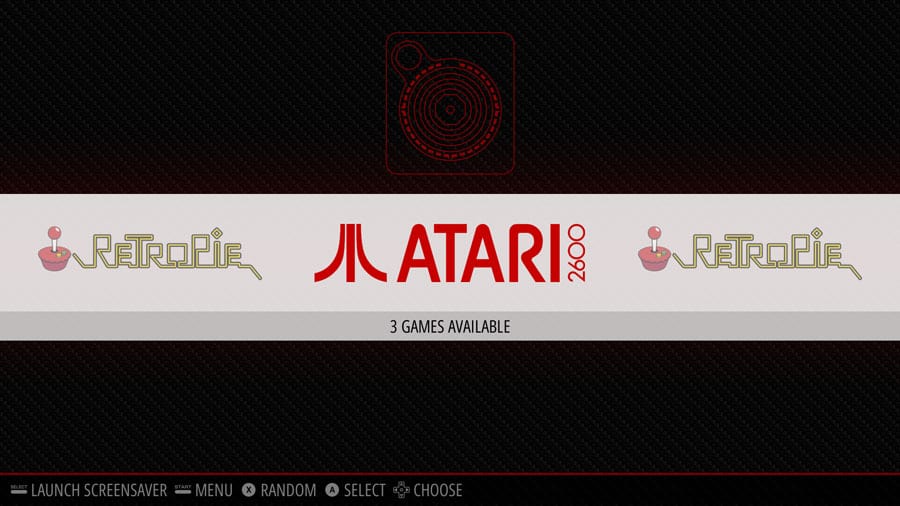
When you add games for a new console, you’ll get a new entry in the main menu. The “Retropie” entry gives you access to many configuration options.
The basic stuff is easy to change (network, themes, controller settings, etc.), but as you get deeper into the options, you’ll get an unfriendly configuration menu where you can quickly get lost. Alternative systems have done a better job with this (but may have fewer options overall).
Retropie is probably a good starting point for your first experiment, but don’t consider it the ultimate solution for anyone. I don’t think it is. It’s been surpassed by alternatives, is slow to catch up with hardware updates, and doesn’t improve much year after year.
Anyway, here is my beginner’s guide to Retropie if you want to try installing it.
Recalbox
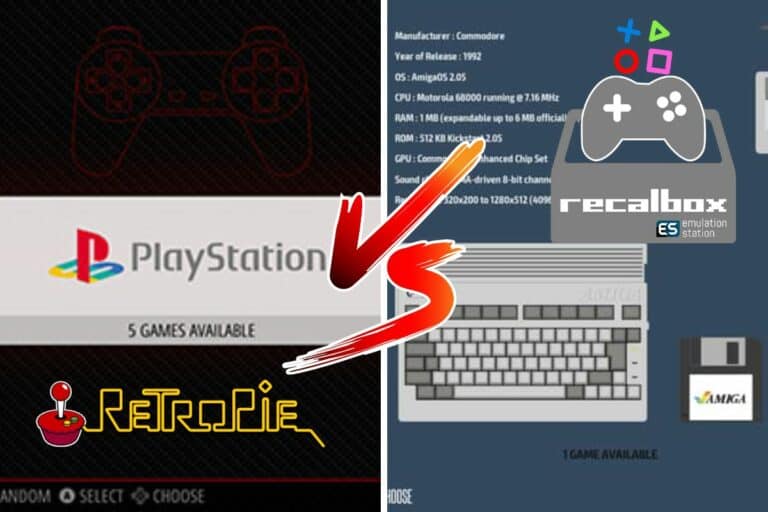
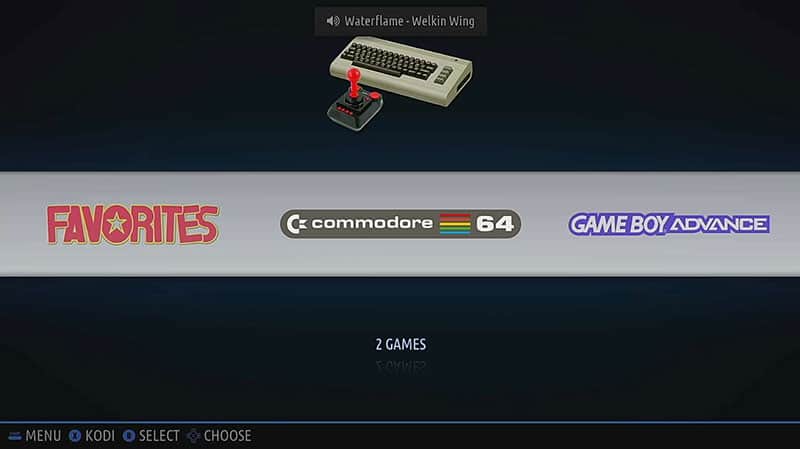
Recalbox is probably the best solution for retro gaming on Raspberry Pi, or at least it’s my current favorite. Everything is integrated into an intuitive menu when you press “Start”, most consoles are supported, and then there are some nice features built in.
The interface design is nice and it’s easy to find and start your games. It’s a bit different from the Retropie menu, but the principle is the same, a list of consoles and when you select one you can choose your game in a list:
If you want to try, read my Recalbox installation guide here. Notice in the screenshot above that Kodi is installed by default and available directly from the main menu, which means you can use the same SD card for retro games and media center.
Batocera
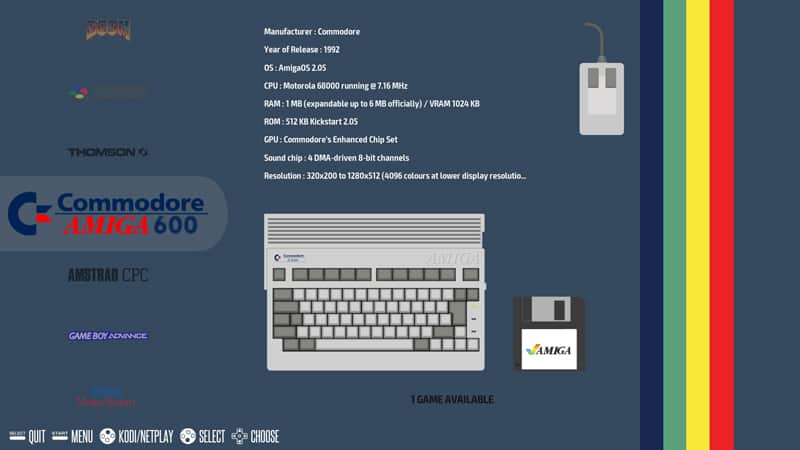
The Batocera project was started by Recalboxes original lead developer, so you’ll find many similarities, even if the default interface looks more like Retropie at first glance:
Note that, unlike Retropie and Recalbox, Batocera is not (yet) available in Raspberry Pi Imager, so you’ll need to download image files from the official website to flash it onto your SD card. You can find all the installation steps in my dedicated article: Batocera on Raspberry Pi: Installation and First Steps.
Lakka
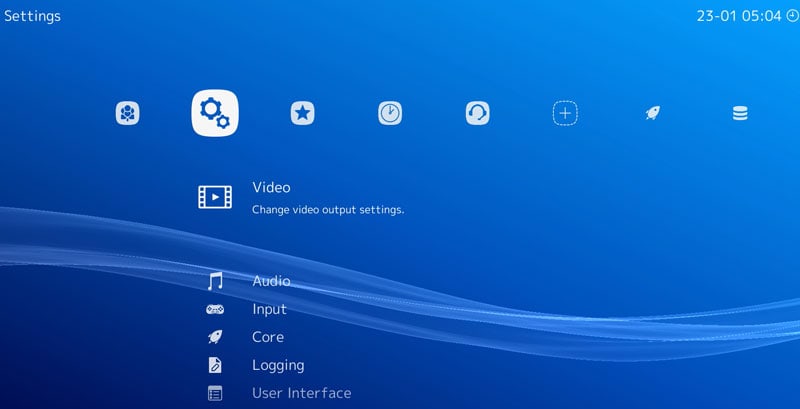
Finally, Lakka is a nice one to keep in mind if you’re looking for something different. The interface is unique, inspired by the original Playstation look and feel, and also uses different technologies behind the scenes, making it an original solution.
As for the other ones, I have a full tutorial about Lakka available, where I give you more details about this distribution, and show you how to install it on a Raspberry Pi.
To be honest, I’m not sure how active this project is anymore, as it doesn’t seem to have released many new features in the last few years. But at least they have an image for the Raspberry Pi 5, so it’s not completely dead. Give it a try and let me know how it goes.
Getting ROMs for your retro-gaming console
Once you have a system installed, it’s time to add games because except for the Recalbox, which contains some demo games, it will be pretty empty after installation.
This part is a bit of a gray area legally, I’ll show you how to get and add new games, but I have to start with a disclaimer (and I highly recommend reading it).
Disclaimer
The video game industry is known for its stringent copyright laws, which are designed to protect the intellectual property of creators. It is important to note that playing a licensed video game that has not been purchased can be considered an infringement of the copyright holder’s rights. This is a matter that should be given careful consideration.
Even though we’re dealing with old games that have often been discontinued by their publishers, they are still protected by copyright.
Keep this in mind when downloading ROMs from the Internet. Just because there’s a download link on a website doesn’t mean it’s copyright-free. To avoid any problems, try to play free games whenever possible.
In no event can we be held responsible for any actions you take after reading this article. This is your responsibility.
Method 1: Download games (slow & risky)
Having said that, the first way to get games on your new retro gaming system is to download them online. By the way, all platforms use the same ROM files, so it doesn’t matter if you use Retropie, Recalbox or any other solution to play, you need the same game files.
Some sites offer free games without any copyright, so I’d start there and see if you can find some good ones. The best site for this is MAMEDev, and you can visit it to get some simple games to try out.

And if you want to be more adventurous and try other sites, you can also check out this article where I list the best options available. You’ll find all the bestsellers for your childhood, remember what I just said about the legal stuff, and keep your eyes open because even if I only list the trusted ones, those sites are filled with junk ads and downloading malware from them is not impossible.
Whichever option you choose, you should have a ROM file on your computer that you need to transfer to the Raspberry Pi. There are several ways to do this, which I will explain in this article: How to Add Games on Raspberry Pi (4 ways on Retropie). And if you don’t use Retropie, the process is pretty similar.
Method 2: Get a preloaded SD card (fast & safe)
Another option, if you want to play it safe and don’t want to spend hours online searching for games that play hide-and-seek with ads, is to get an SD card preloaded with thousands of games from Amazon. Yes, it’s a (tiny) budget, but you’ll save a lot of time and headache.
Here are a few options currently available:
- Retropie 128GB SD Card with 12k+ games (Pi 4/400)
- Batocera 512GB SD Card with 20k+ titles (for Pi 5)
- Retropie 128GB SD Card with 145k games on it (Pi3/3B+ and Pi 4/400)
Resellers and products come and go, so do a quick search for “retropie SD card” or something similar if these options are no longer available at the time of reading.
By the way, even if the SD card you buy is for Retropie, but you prefer to use Recalbox or something else, it’s no problem since the game files are the same. You can use the files no matter what system you install, you’ll save a lot of time anyway.
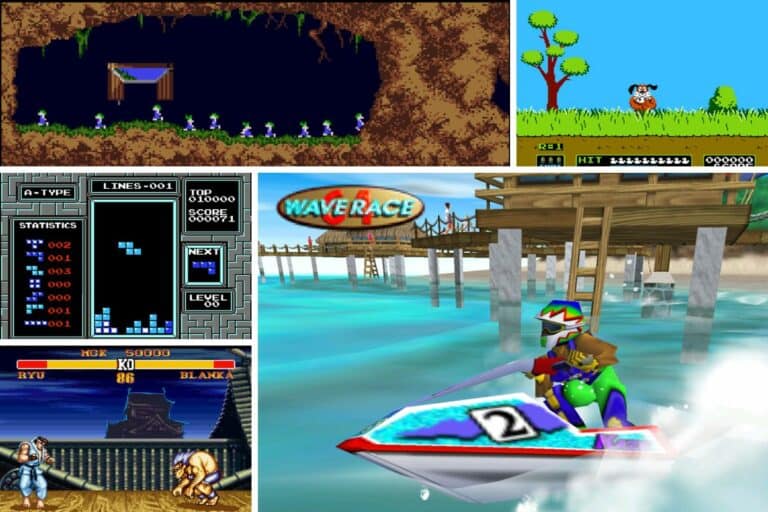
A few games I recommend
I’ve always been a gamer, starting with Super Nintendo as a kid, spending a lot of time on Nintendo 64 as a teenager, and then having some PlayStation and Xbox before becoming more of a PC gamer as an adult.
You might also like: Do this to keep a full backup of your Raspberry Pi
So of course I wrote some articles about my favorite games, which might be a good place to start if you are looking for classic games to try on your new system:
- 12 Best Games to Play on Retropie (Download Links)
- 15 Best N64 Games You Need to Try on Retropie (with links)
- A PDF with my favorites 24 games for Retropie (including links)
I hope this will help you get started. Now let’s see what we can do to play them under the best conditions.
Playing in the best conditions with a Raspberry Pi
You now have the basic setup: a Raspberry Pi, one of the retro-gaming distributions available, and some games to get you started. What to do now? Well, there are a few things you can do to make sure you can play under the best conditions. Here is what I recommend.
Use a recent Raspberry Pi model
If possible, get a decent Raspberry Pi model to set up your system. You don’t necessarily need a Raspberry Pi 5 with 16GB of RAM, but try to pick something robust enough.
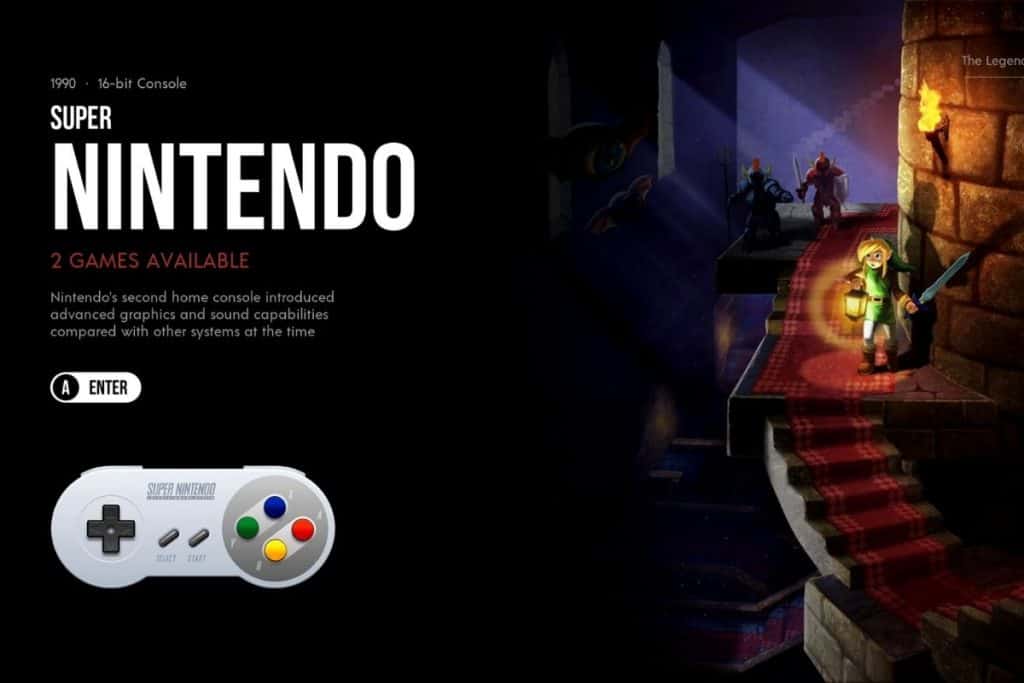
The Super Nintendo was powered by a 3Mhz CPU and 128Kb of RAM, so it doesn’t mean you need the latest Raspberry Pi model to play Super Mario Bros or Duck Hunt on your Pi. But using a decent one gives you more room to play newer games, add game enhancements, and run the whole system and add-ons.
For example, if you own all the Raspberry Pi models, I would use at least a Raspberry Pi 3B+ for this project, it should be enough for most games and compatible with the latest versions of most systems.
And remember, if you installed your system on an SD card, you can always switch to a different model later (if you want to play PlayStation games or whatever requires more power).
You might also like: 25 project ideas you can try at home with Raspberry Pi
Get a game controller
Not only will you not be able to play anything properly with just a mouse and keyboard, but you may also need to invest in a decent game controller (unless you have a good one that works with any console).
Remember how the game controllers for those consoles were all different from what we are used to now? Like the N64 controller, which was a bit weird, with 3 arms and a stick in the middle. Here is a reminder:
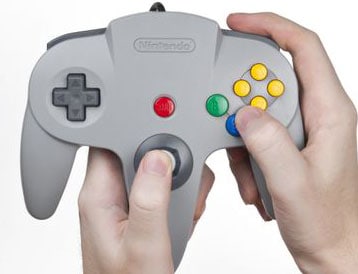
The problem is that you can’t play N64 games with a cheap NES-style controller, because you need the joystick to move the camera, and there aren’t enough buttons on it to assign all the controls. I say this from experience: On my first try, I played Goldeneye (the James Bond game on N64) with a NES controller, you always look in front of you and can’t shoot… pretty boring :-).
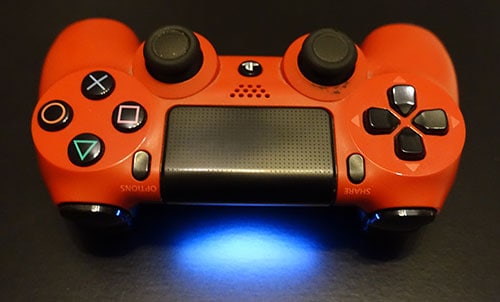
So, if possible, my recommendation is to get a controller like the original (you can find some on Amazon), or at least get a recent controller with as many buttons and sticks as possible so you can configure it for any console (I like PS4 controllers or this one from 8Bitdo, but it’s up to you).
Keep your games safe
No matter how you got your game files, you probably spent a few hours downloading and transferring them or paid some money to get a preloaded SD card. I highly recommend keeping them somewhere safe.
There are several solutions, it’s up to you which one you prefer, but do at least one of them if you don’t want to start from scratch in a few days after losing (or accidentally deleting!) the SD card. Here are some suggestions:
- Buy a second SD card of the same size or larger and make a clone of that SD card. This way, even if you lose it, erase it, or if it gets corrupted, you can use this clone and restart from the same point.
- Use a NAS (you can host one on another Raspberry Pi for cheap). Have a shared folder where you copy all your game files. You’ll have to reinstall the system if you lose your main storage, but at least you’ll have a copy of your favorite games.
- Schedule regular backups to another storage device (NAS, PC, or any external drive). Most systems are based on minimal Linux, so you can follow the linked tutorial to schedule your backups.
Another simple option is to keep all the games on your PC, even after transferring them to the Pi, but this only works if you are not like me and format your PC every 6 months.
Nice cases
This tip is probably less important than the previous ones, but if you like your new setup and want to make it look great, you can find some nice cases to put everything in instead of a Pi hanging from the back of your TV via the HDMI cable.
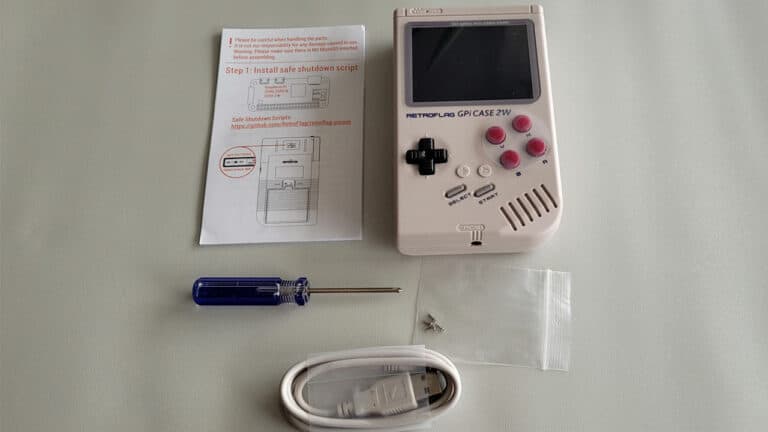
You can find some like the original NES, the PlayStation or even the Nintendo 64 (all links go to Amazon). Personally, I got this Game Boy-style case (that I review here), and I love it:
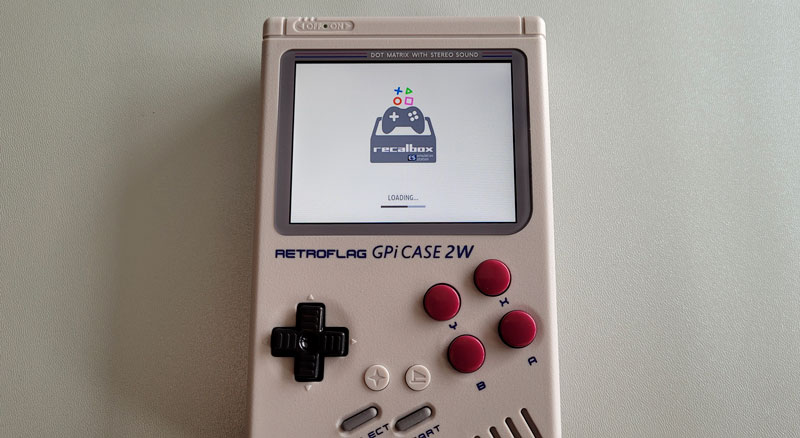
This is just for the Pi Zero 2W, and not for any games, but it’s fun to play some original Game Boy games on a Raspberry Pi, using the same feel & experience as in my childhood.
Anyway, pick the one you prefer or don’t pick any, the choice is yours, I just wanted to tell you that there are many great options available.
Want to chat with other Raspberry Pi enthusiasts?Join the community, share your current projects and ask for help directly in the forums.
Advanced tips for retro-gaming on Raspberry Pi
You’re almost done, I’ll soon let you play and enjoy your new system. But if you want to get more out of it, here are a few tips that might interest you.
Bluetooth controllers
Sure, gaming in the ’90s wasn’t synonymous with wireless controllers, but now we have great options to play wirelessly.
I mentioned earlier that you can use a PS4 controller, which works pretty well for most games (PlayStation games of course, but also N64 or Gamecube if configured properly). Well, you can also configure it to be wireless and use the Raspberry Pi’s Bluetooth to connect to it.
Check this: Need a clear GPIO pinout diagram? Here's mine.
Most systems will recognize the controller and you can configure it as if it was connected via USB. I’ve also tested it with other controllers like the 8BitDo, which I often use on the PC. Here are some tutorials you might find useful:
- How to Pair PS4 Controller with Recalbox? (Bluetooth)
- How to Connect a Bluetooth Controller to Lakka (Successfully)
- How to use a PS4 controller on Retropie? (the easy way)
Themes
When listing the different gaming solutions at the beginning of the article, I compared the default interface, but it’s possible to tweak them a bit.
For example, using a different theme, you can make the Retropie main menu look like this:
Nice, isn’t it? Well, if you’re interested, check out my favorite themes for Retropie listed here (with screenshots for all of them).
Scraping
Another thing you’ll quickly notice, especially on Retropie, is that your games will appear in a boring list, sometimes with just the file name and no image.
It’s possible to use a feature called “scraping” to download the cover image from a website and associate it with the game so that your game listing looks more like this:
It’s not intuitive for beginners, so I created a dedicated tutorial, you can find here: How to Scrape Retropie Games? (Auto & manual).
And if you want even more tips to level up your setup and play more comfortably, I’ve listed a lot of them in this article: 13 Retropie Tips That Will Impress Your Friends
Anyway, I hope this article was useful and you have a better understanding of how to get started with retro-gaming on Raspberry Pi, in what order to do all the steps, what is important or not, etc. Feel free to join the community and ask your questions in the forums if you need more help.
Whenever you’re ready, here are other ways I can help you:
The RaspberryTips Community: If you want to hang out with me and other Raspberry Pi fans, you can join the community. I share exclusive tutorials and behind-the-scenes content there. Premium members can also visit the website without ads.
Master your Raspberry Pi in 30 days: If you are looking for the best tips to become an expert on Raspberry Pi, this book is for you. Learn useful Linux skills and practice multiple projects with step-by-step guides.
The Raspberry Pi Bootcamp: Understand everything about the Raspberry Pi, stop searching for help all the time, and finally enjoy completing your projects.
Master Python on Raspberry Pi: Create, understand, and improve any Python script for your Raspberry Pi. Learn the essentials step-by-step without losing time understanding useless concepts.
You can also find all my recommendations for tools and hardware on this page.